
A Cordless Drill Is the One Power Tool Worth Learning First
If you own a single power tool, make it a cordless drill. It hangs pictures, assembles flat-pack furniture, builds a raised garden bed, and installs a curtain rod without ever tethering you to an outlet. Yet the first time most people pick one up, they squeeze the trigger, watch the bit spin, and immediately strip a screw head or split a board. None of that is the tool's fault. A drill rewards a little bit of setup and technique, and once you understand what each dial and collar actually does, the whole thing stops feeling intimidating.
This guide walks through how to use a cordless drill from the ground up: the parts, loading a bit, dialing in the clutch and speed, drilling a clean hole, driving screws that sit flush instead of stripped, and keeping the battery healthy for years. It is written for a first-time owner, but even people who have owned a drill for a decade tend to skip the clutch and wonder why their screws keep sinking too deep. If that is you, start with the clutch section.
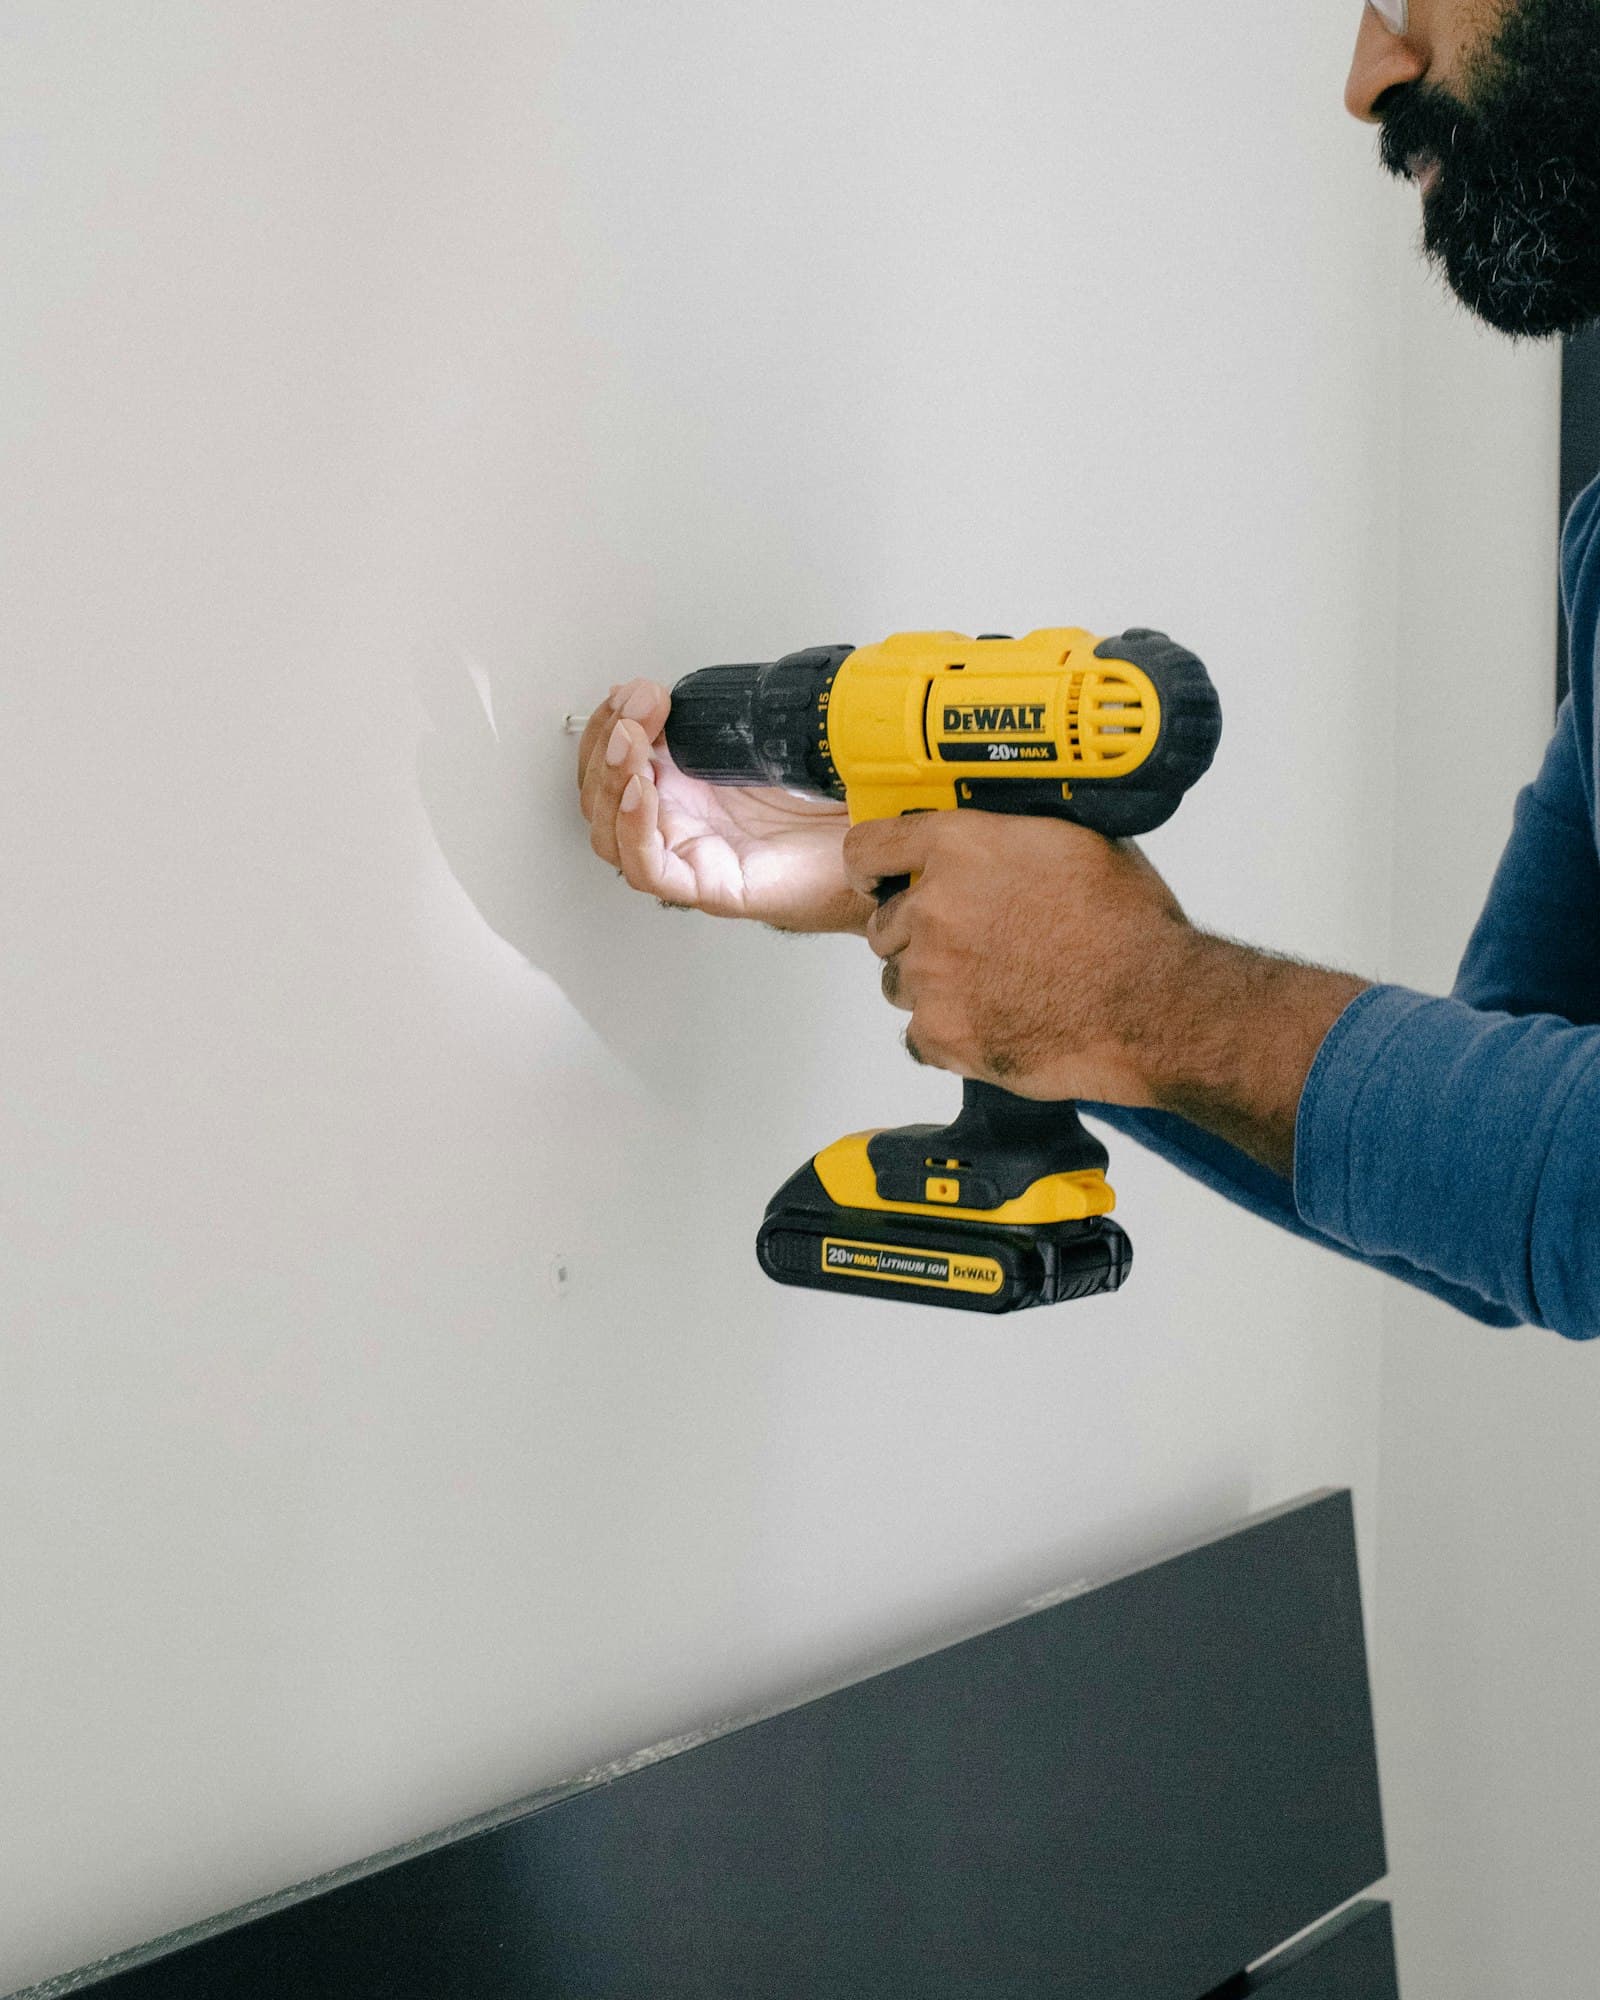
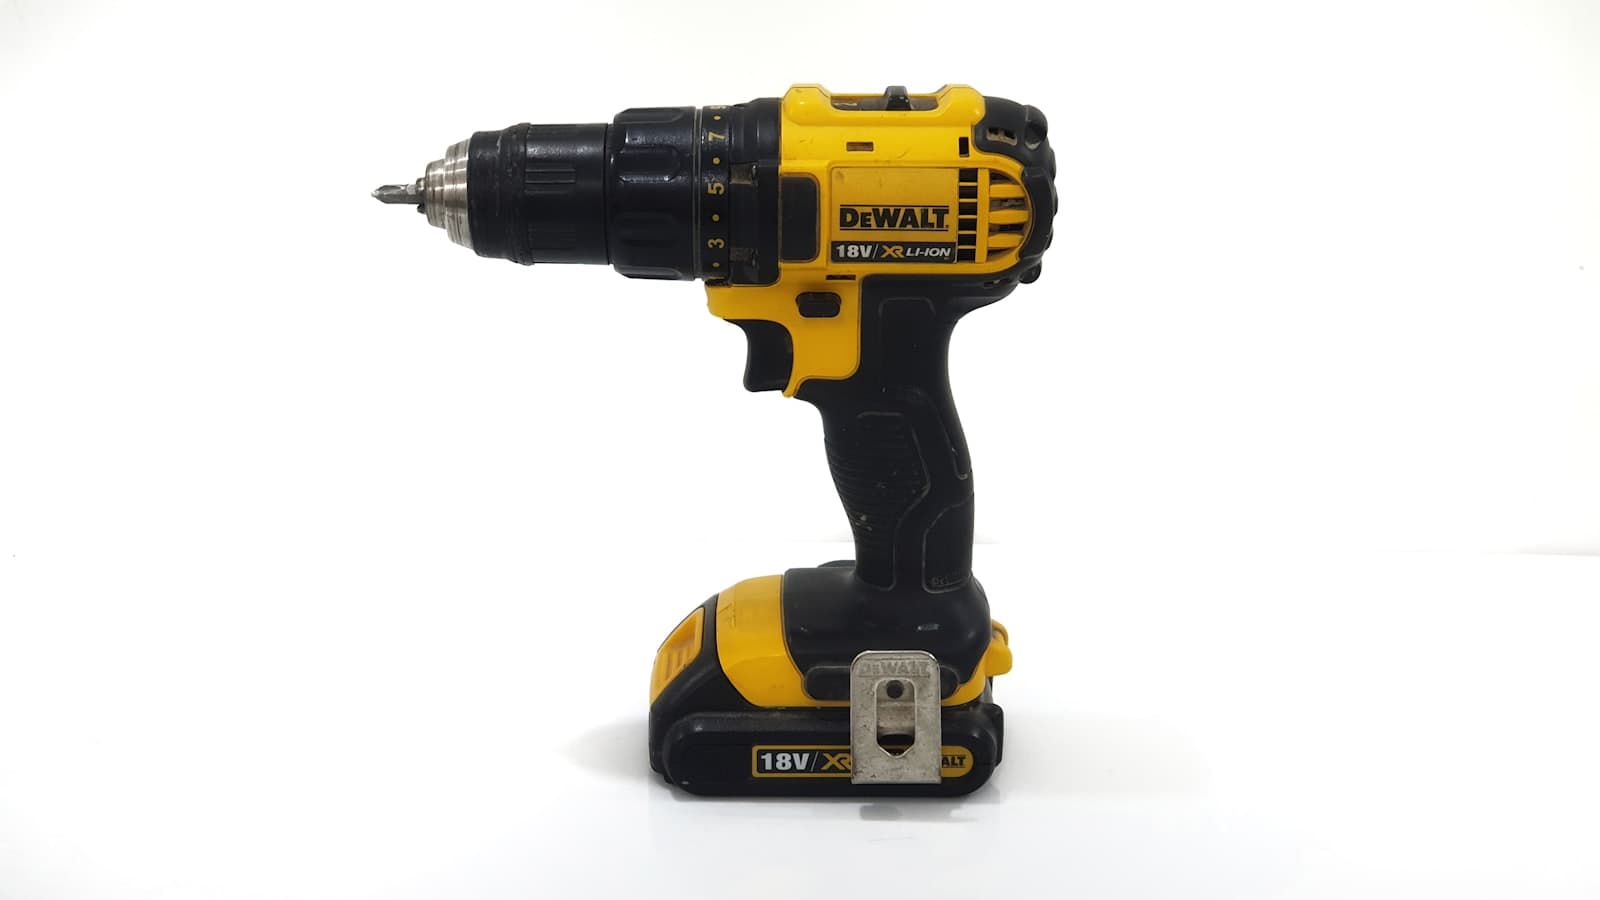
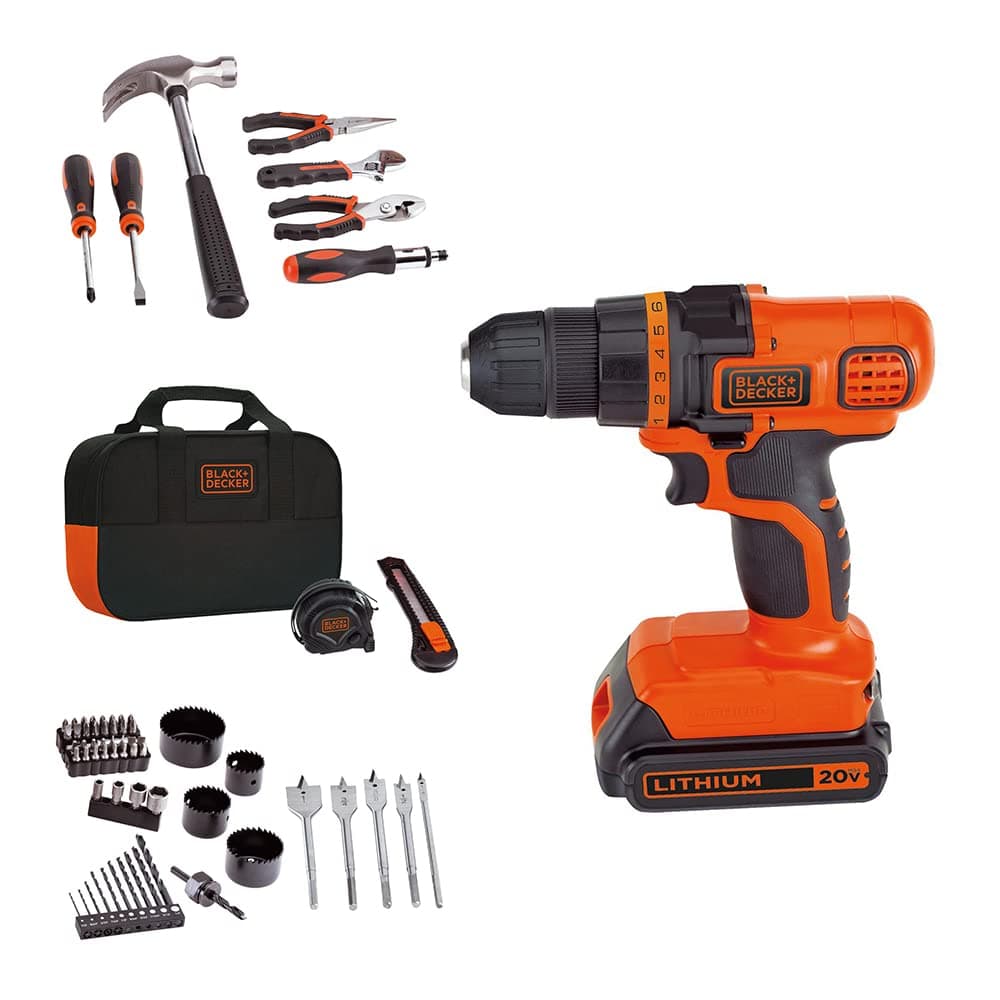
A beginner-friendly cordless drill kit. Most home projects need nothing more powerful than a 20V drill/driver like this one.
Get to Know the Parts of Your Drill
Before you drill anything, spend two minutes finding five controls. Every modern cordless drill/driver has them, and knowing what each one does is most of the battle.
The Chuck
The chuck is the adjustable jaw at the very front that grips the bit. Almost all consumer drills today use a keyless chuck, which means you tighten and loosen it by hand instead of hunting for a separate chuck key. Turn the sleeve one way and the three internal jaws close around the bit; turn it the other way and they open. Most home drills have a 3/8-inch chuck, while heavier-duty models step up to 1/2-inch, which simply refers to the largest bit shank the jaws can hold.
The Clutch Collar
Directly behind the chuck is a numbered ring, usually running from 1 up to 15 or 20, often with a drill-bit icon at the very end. This is the clutch, and it is the single most misunderstood control on the tool. It limits how much twisting force (torque) the drill delivers before it disengages with a soft ratcheting click. We will come back to this because it is what keeps you from over-driving screws.
The Gear or Speed Selector
On top of the drill, near the back, most models have a small slider marked 1 and 2. This is a two-speed gearbox. Position 1 is low speed and high torque, ideal for driving screws and boring large holes. Position 2 is high speed and lower torque, better for drilling small holes quickly. Slide it only when the motor is stopped.
The Trigger and Direction Switch
The trigger is variable speed, which is a feature people constantly overlook. Squeeze it gently and the bit turns slowly; squeeze harder and it accelerates. That feathering ability gives you far more control than treating the trigger like an on/off button. Just above the trigger sits a forward/reverse switch that slides left or right. Forward drives and drills; reverse backs a screw out or frees a jammed bit. When the switch is centered, the trigger is locked, which is the correct position for storage and for changing bits.
The Battery
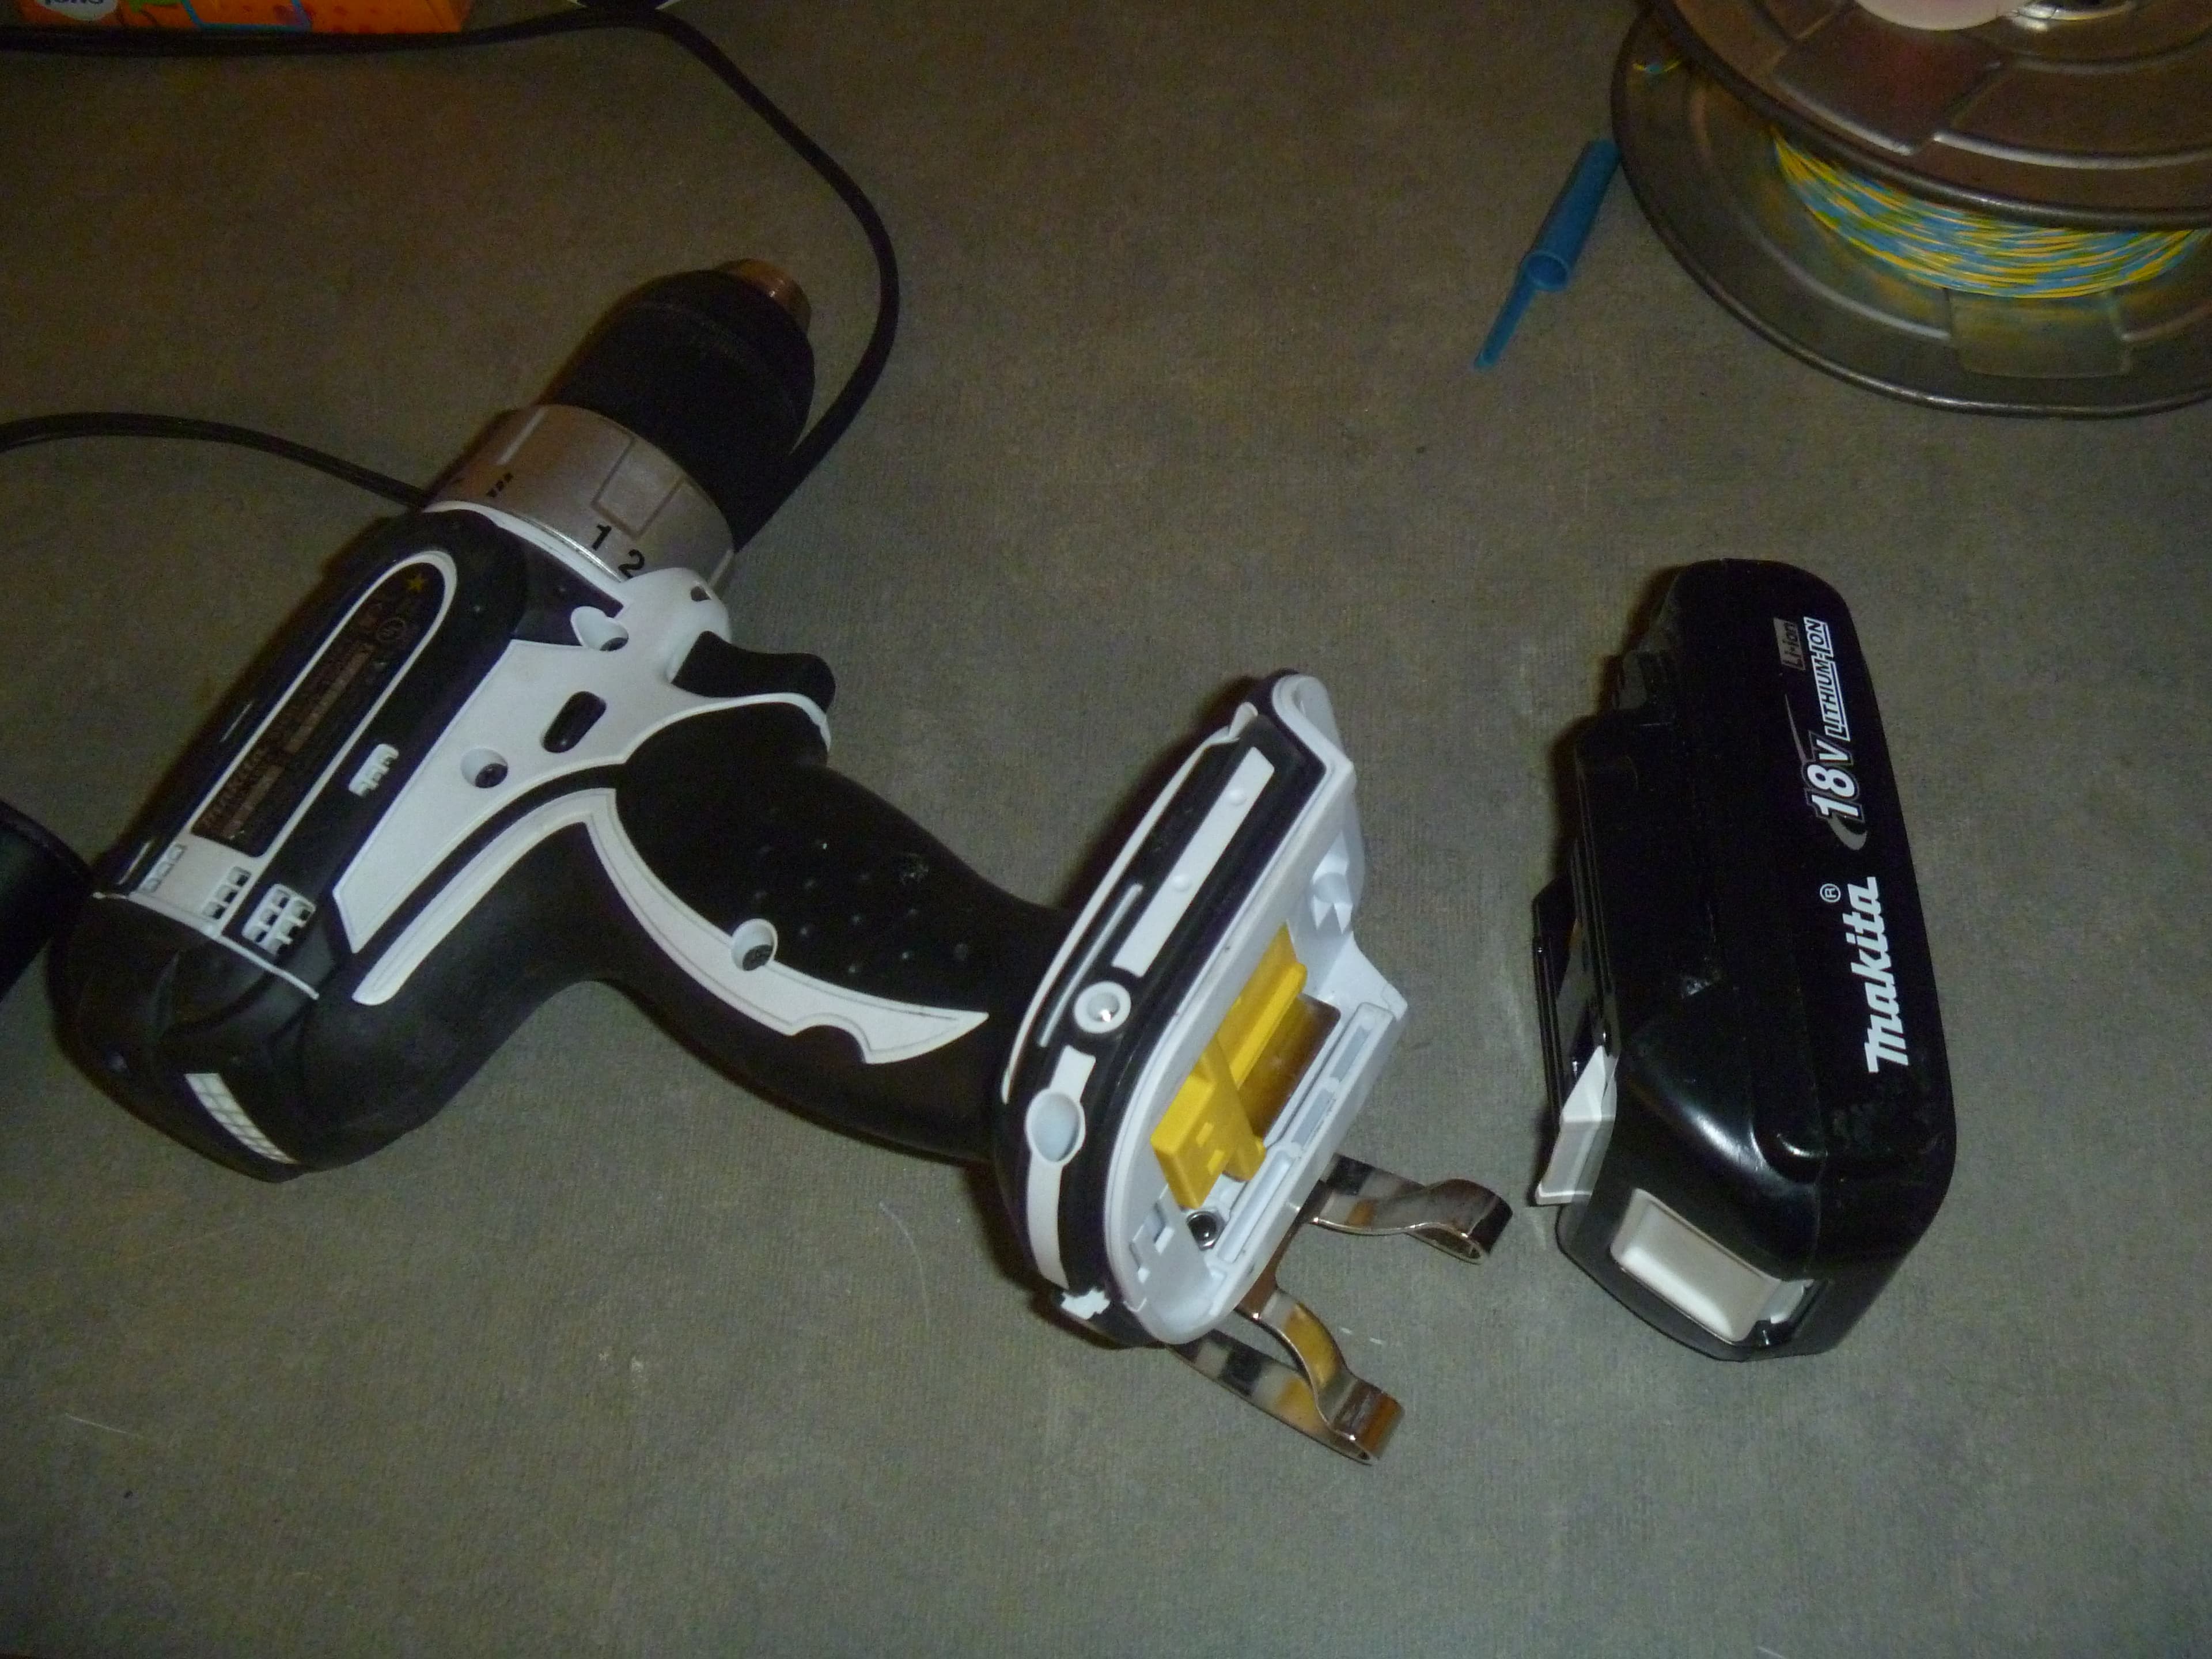
A lithium-ion battery pack slides into the base of the handle and clicks home. Give it a firm push until it seats, and press the release tabs to remove it. Keeping a second pack charged means you rarely have to stop mid-project.
How to Load a Bit in a Cordless Drill
Loading a bit is the first hands-on skill, and it takes about ten seconds once you have done it a few times.
- Set the forward/reverse switch to the center lock position so the drill cannot fire while your fingers are near the jaws.
- Grip the chuck sleeve and rotate it counterclockwise until the jaws open wide enough to accept your bit.
- Insert the bit straight in as far as it will comfortably go, keeping it centered between the three jaws so it does not sit crooked.
- Rotate the sleeve clockwise by hand until it is snug, then give it a final firm twist. Many keyless chucks include a ratcheting mechanism, so you will hear a series of clicks that tells you the bit is locked.
- Tug the bit gently to confirm it will not slip. A bit that wobbles or walks was not centered or not tightened enough.
To remove the bit, center-lock the switch again, rotate the sleeve counterclockwise, and the bit drops free. If the chuck is stubborn after heavy use, hold the sleeve with one hand and pulse the trigger briefly in reverse to crack it loose, then finish by hand.
Understanding Cordless Drill Clutch Settings
Here is the concept that separates frustrated beginners from confident ones. The clutch is a torque-limiting device: it lets the drill spin the bit only until it hits the resistance level you dialed in, then it slips with an audible ratchet instead of forcing more. That slip is a feature, not a malfunction. It stops you from burying a screw below the surface, snapping the screw, or stripping the head. As Pro Tool Reviews explains, the numbered collar essentially tells the drill "stop pushing once you feel this much resistance."
How to Read the Numbers
Lower numbers deliver less torque; higher numbers deliver more. The exact torque per number varies by drill, so treat the settings as relative, not absolute:
- Low (roughly 1 to 4): small screws in soft material such as drywall, pine, or particleboard.
- Medium (roughly 5 to 10): general fastening into softwoods and light hardwoods.
- High (roughly 11 and up): large screws or dense hardwoods that need more force.
- Drill icon: this bypasses the clutch entirely and sends full torque to the bit. Use it only for drilling holes, never for driving screws.
The Right Way to Dial It In
The safest habit is to start low and climb. Family Handyman recommends testing on a scrap piece first: set a low number, drive a screw, and if the clutch slips before the head sits flush, bump the setting up one notch and try again. Repeat until the screw seats cleanly and the clutch clicks off right as the head meets the surface. That is your setting for that screw-and-material combination. When you switch to drilling holes, rotate the collar to the drill icon so the clutch stops interrupting you.
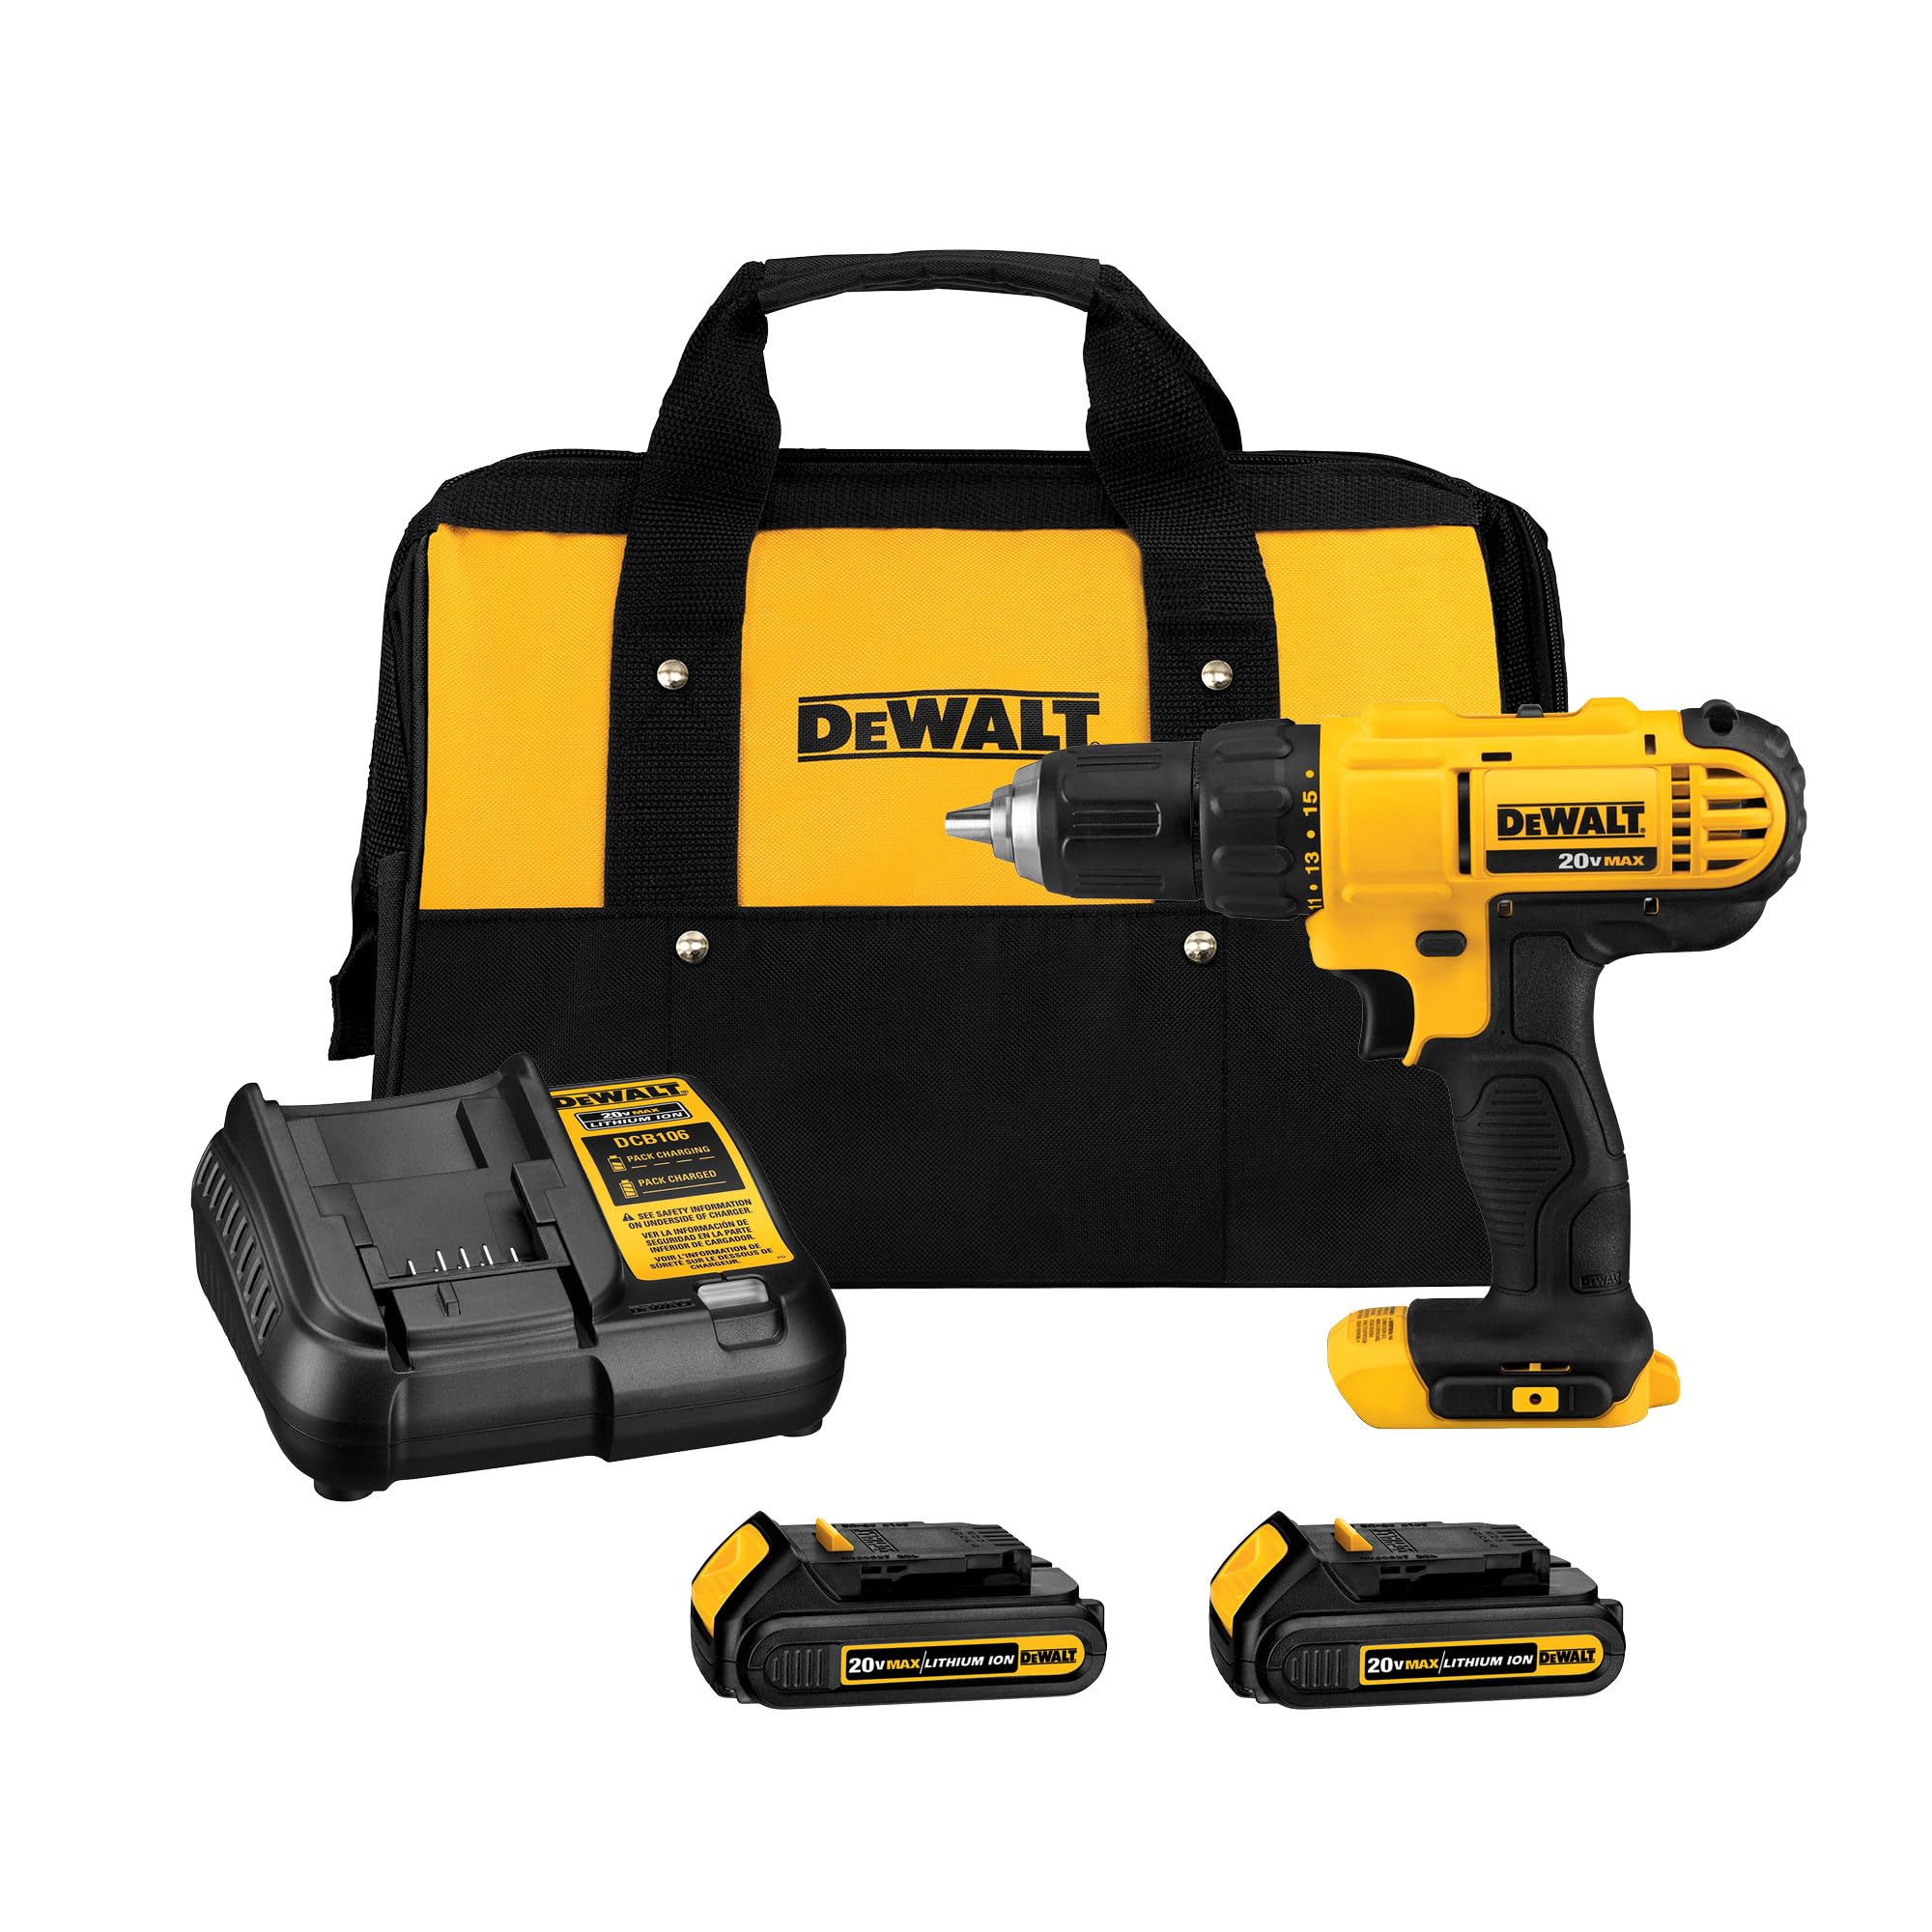
The numbered ring behind the chuck is the clutch. Start on a low number and climb until screws seat flush without slipping early.
Speed Settings vs. the Clutch: They Do Different Jobs
New owners often confuse the two-speed gearbox on top with the clutch collar up front. They control different things and you use them together.
The gearbox (the 1/2 slider) changes the mechanical trade-off between speed and torque. Low gear (1) turns slower but with more grunt, so it is your setting for driving screws and boring wide holes with spade or hole-saw bits. High gear (2) spins faster with less torque, which is what you want for zipping small twist-drill holes through wood or metal.
The variable-speed trigger, meanwhile, lets you control rpm on the fly within whichever gear you selected. Start every hole and every screw slowly by feathering the trigger, then add speed once the bit has bitten in. Starting slow keeps the bit from "walking" across the surface before it grabs, which is the reason so many first holes end up off-target.
A practical rule: for driving screws, use low gear plus a clutch number; for drilling holes, use the drill icon and pick the gear that matches the bit size. Small bit, high gear; big bit, low gear.
How to Drill a Clean Pilot Hole
A pilot hole is a small hole you drill before driving a screw. Skipping it is the most common cause of split wood and stripped screws, especially in hardwood. Pre-drilling guides the screw straight, makes it far easier to drive, and dramatically reduces splitting, as This Old House lays out in its pilot-hole guide.
Picking the Right Bit Size
The pilot hole should match the screw's solid shank, not its threads. This Old House offers a reliable trick: hold the drill bit in front of the screw and up to the light. If the bit just covers the screw's solid core while the threads still peek out on both sides, the bit is the right size. Too large and the threads have nothing to bite; too small and you are back to splitting the board.
Drilling the Hole
- Mark your spot with a pencil, and for a truly precise start, tap a small dent with an awl or a nail so the bit cannot wander.
- Set the clutch to the drill icon and choose your gear based on bit size.
- Position the bit dead vertical (or square to the surface at whatever angle you need). Sighting from two directions helps you stay straight.
- Feather the trigger to start slowly, then increase speed with steady, moderate pressure. Let the bit do the cutting rather than leaning on it.
- Ease off as you break through the far side to avoid tear-out, and back the spinning bit straight out of the hole.
Countersinking for a Flush Finish
If you want the screw head to sit flush with or just below the surface, countersink the pilot hole. A countersink bit cuts a shallow cone at the top of the hole that the screw head nests into. Combination bits exist that drill the pilot and the countersink in a single plunge, which is a genuine time-saver on projects with lots of screws.
How to Drive Screws Without Stripping Them
Once your pilot hole is ready, driving the screw is straightforward if you respect the clutch and keep pressure on the bit.
- Fit the correct driver bit into the chuck. The bit must match the screw recess exactly. A Phillips bit that is a size too small is a classic stripping culprit.
- Set the drill to low gear and choose a clutch number appropriate to the screw and material.
- Seat the bit fully into the screw head and keep firm, straight pressure pushing the bit into the screw the entire time. Family Handyman notes that letting the bit lift out of the recess, using a worn bit, or picking the wrong size are the leading causes of stripped heads.
- Feather the trigger to start slowly, then drive at a steady pace.
- Stop when the clutch slips. That click means the screw has reached the torque you set. If the head is not flush yet, nudge the clutch up a number and finish.
If a screw strips or you drive it in the wrong spot, flip the direction switch to reverse, seat the bit firmly, and back it out slowly.
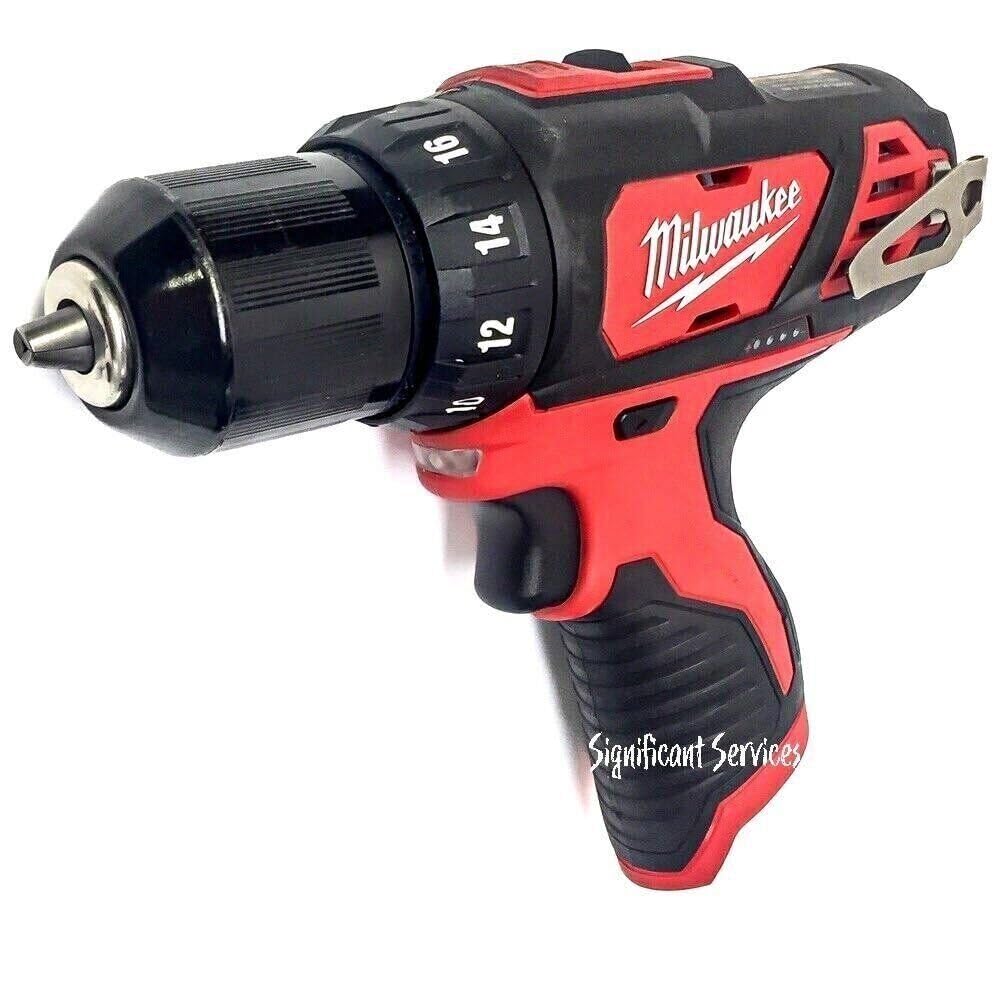
A compact 12V drill/driver is easy to control one-handed, which makes it forgiving for a first-timer learning to drive screws.
Drill vs. Impact Driver: Do You Need Both?
As you shop or borrow tools, you will run into the impact driver, a stubby cousin of the drill that looks similar but works differently. Understanding the split helps you avoid buying the wrong tool.
A drill/driver spins with smooth, continuous rotation, and its clutch and variable speed give you fine control. That precision is exactly what you want for drilling holes and for delicate fastening. An impact driver, by contrast, adds rapid rotational hammering blows when it meets resistance, delivering short bursts of high torque that sink long screws and lag bolts without stalling or stripping. The Wood Whisperer describes the trade-off well: drills are built for control and hole-boring, impact drivers for raw fastening power.
For most home projects, a single drill/driver is all you need, and it is the right tool to learn on. If you regularly build decks, drive dozens of long structural screws, or work with dense lumber, an impact driver earns its place alongside the drill rather than replacing it. Note that impact drivers use a 1/4-inch hex collet, not a keyless chuck, so they accept only hex-shank bits.
Cordless Drill Battery Care and Storage
The lithium-ion pack is the most expensive part of a cordless drill to replace, so treating it well pays off directly. The good news is that modern packs are low-maintenance; they have no "memory effect," so you do not need to fully drain them before recharging.
Temperature is the main thing to watch. DEWALT's battery-safety guidance recommends storing packs in a cool, dry place away from direct light and away from temperature extremes, because prolonged heat is what permanently erodes capacity. In practice that means:
- Do not leave batteries baking in a hot car, a sunny windowsill, or an uninsulated garage in summer. Manufacturer guidance generally warns against storage where temperatures can exceed 120°F (50°C).
- Do not charge a pack that is ice-cold or scorching hot straight off a job; let it return toward room temperature first.
- For long-term storage of several months or more, charge the pack up before you put it away, and top it off occasionally.
- Slide the battery off the tool before extended storage, and keep the contacts clean with a dry cloth.
Following those basics, a quality pack can last many years and hundreds of charge cycles.
Safety and the Mistakes Beginners Make Most
None of this is dangerous with a little care, but a few habits keep every project smooth and injury-free.
- Wear eye protection. Bits break and material chips fly. Safety glasses are cheap insurance.
- Clamp your workpiece. A board that spins with the bit is how people get hurt. Clamp small pieces to a bench.
- Center-lock the switch before changing bits. It removes any chance of an accidental trigger pull.
- Keep the bit square to the work. Angling the drill mid-hole binds the bit and can snap it or wrench your wrist.
- Let the tool do the work. Forcing a dull bit generates heat and mistakes. If you are leaning hard, the bit is probably dull or the wrong type for the material.
- Match the bit to the material. Twist bits for wood and metal, masonry bits for brick and concrete, spade or hole-saw bits for large holes. The wrong bit will not cut cleanly no matter how you set the drill.
- Do not use the drill icon to drive screws. Full torque with no clutch is exactly how screws strip and snap.
The single biggest beginner mistake is treating the trigger as a switch instead of a dimmer. Start slow, every time, and most other problems disappear.
Choosing Your First Drill
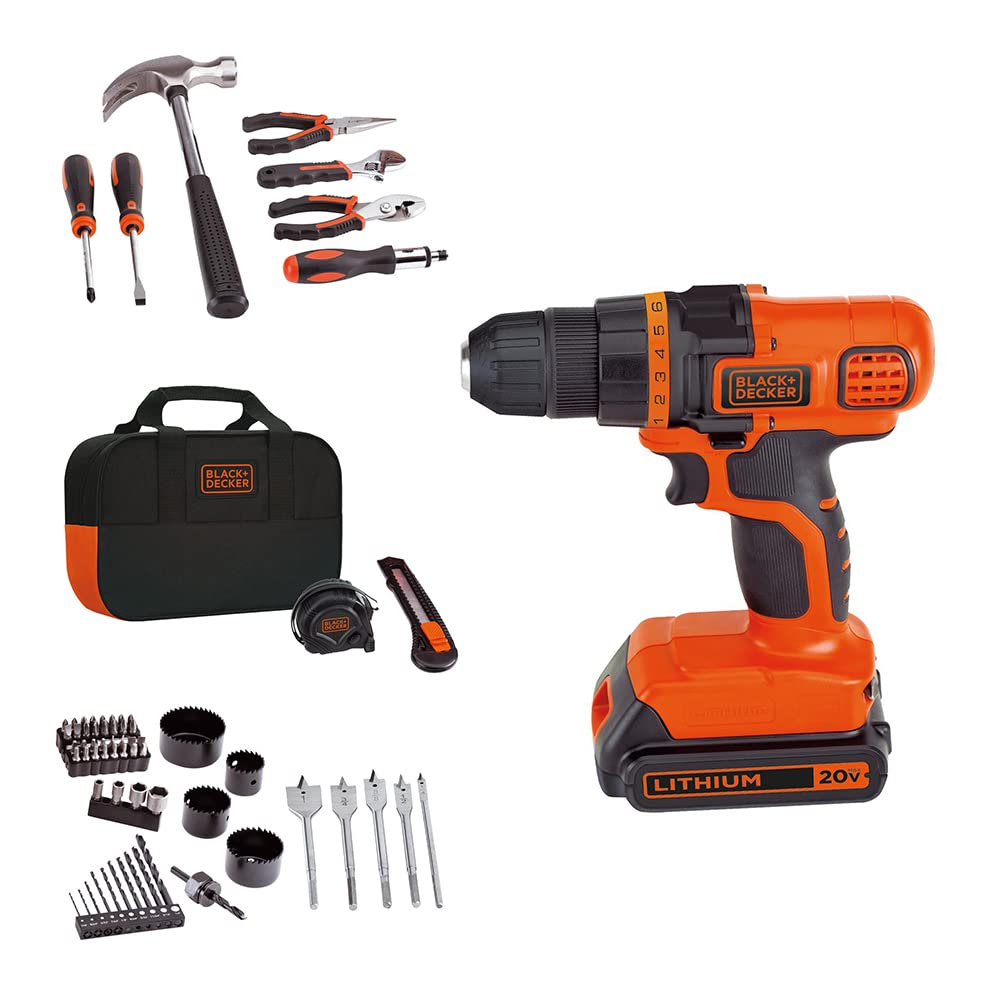
If you are still shopping, the encouraging news is that you do not need the most powerful or expensive tool to learn on. A lightweight 12V or 20V drill/driver with a two-speed gearbox and an adjustable clutch handles the overwhelming majority of household jobs, and a lighter tool is easier to control while you build muscle memory. Kits that bundle the drill with a battery, charger, and an assortment of bits get you working the same afternoon.
For a hands-on starting point, our review of the BLACK+DECKER 20V MAX cordless drill and home kit breaks down why a bundled beginner set makes sense for a first tool. And when you are ready to compare the field across brands and price points, our roundup of the best cordless drills of 2026 lays out the strongest picks for everyone from renters to weekend builders.
Learn the five controls, respect the clutch, drill a pilot hole, and start every cut slowly. Do those four things and you will drive a flush screw and bore a clean hole on your very first real project.
Quick Settings Reference
Once the concepts click, most of using a drill comes down to a few repeatable choices. Keep this cheat sheet in mind:
- Drilling a hole: rotate the clutch to the drill icon, then pick your gear by bit size. Small twist bits go in high gear (2); large spade or hole-saw bits go in low gear (1).
- Driving a screw: switch to low gear (1) and select a clutch number, starting low and climbing until the head sits flush right as the clutch clicks off.
- Every start: feather the trigger to begin slowly, then add speed once the bit has bitten in. This one habit prevents the most common beginner mistakes.
- Backing out or freeing a stuck bit: flip the direction switch to reverse and go slowly with firm pressure on the bit.
- Changing bits or setting the tool down: center the direction switch to lock the trigger.
Print it, tape it inside your toolbox lid, and within a few projects you will not need it anymore.
How We Research
Zuqqis does not accept manufacturer claims at face value, and we do not stage hands-on demonstrations to manufacture authority. Instead, every how-to guide is built from three independent evidence layers that we cross-check against one another. First, we anchor technique and specifications to primary sources, including manufacturers' official operating manuals and safety documentation, such as DEWALT's published battery-safety guidance. Second, we corroborate real-world method against established editorial and trade authorities with decades of instructional track record, including This Old House, Family Handyman, and specialist tool publications like Pro Tool Reviews. Third, where techniques differ between sources, we favor the guidance that is consistent across multiple independent authorities rather than any single opinion. When a claim can be traced to only one unverifiable source, we leave it out. That three-layer standard is how we keep instructions accurate, safe, and genuinely useful without overstating what any of us has personally handled.
Related Posts