Start With How You Actually Want to Live Outside
A patio fails or succeeds long before anyone shops for furniture. The single most useful thing you can do is decide, in plain language, what you want to do out there. Designers who plan outdoor rooms for a living say the same thing over and over: list the top three activities you picture, and let that list drive every later decision. A patio built for "morning coffee, weekend dinners, and a place for the kids to sprawl" looks nothing like one built for "a hot tub and a bar," and trying to make one slab do everything is how people end up with a crowded, awkward space they rarely use.
This guide is research-based. We did not build a patio in a backyard and photograph the steps; instead, we synthesized published guidance from landscape designers, home-improvement editorial, and manufacturer planning resources, and we flag the load-bearing numbers with their sources so you can verify them. The goal is to give you a realistic plan and honest tradeoffs before you spend money, not a fantasy mood board.
Two ideas do most of the heavy lifting in a good patio: zones (separating dining, lounging, and circulation so each one works) and clearances (leaving enough room around furniture that the space feels generous instead of cramped). Get those two right and almost everything else is decoration. Get them wrong and no amount of nice furniture will save it.
If you want the shoppable version of all this, our companion roundup, the best patio and outdoor living setup for 2026, pairs these planning principles with specific products we researched. This article is the "why and how" behind those picks.
Step One: Read Your Site Before You Buy Anything
Track the sun for a full day
Before you commit to a single piece of furniture, watch where the sun lands. Designers consistently recommend paying close attention to where the sun hits at different times of day, especially during the summer months when you actually plan to use the space, according to a patio planning guide from Keystone Custom Decks. A west-facing patio that bakes from 3 p.m. onward needs a very different shade strategy than an east-facing one that's pleasant by dinner.
The practical move is to spend one ordinary day noting when each part of the patio is in sun and when it's in shade. That single observation tells you where to put the dining table (probably not in the spot that becomes an oven at 5 p.m.), where a lounge chair will be comfortable, and how serious your shade problem really is. It costs nothing and prevents the most common regret: a beautiful seating area no one can stand to sit in.
Map drainage, traffic, and the door
Sun is the headline, but three other site facts shape the layout. First, drainage: a patio should shed water away from the house, not pool in the middle of your lounge zone. Second, traffic flow: where do people enter, and what's the path to the grill, the back door, and the yard? Third, the connection to the house: a patio that flows naturally from the kitchen or living room gets used; one marooned across the lawn often doesn't.
Editorial planning guides stress thinking about traffic flow, drainage, shade, and landscaping early so the patio is "easy to use, safe, and inviting all season long," as a patio design overview from County Materials puts it. Sketch the existing conditions on graph paper or a simple digital tool before you draw in any furniture. You're not designing yet; you're recording reality.
Step Two: Plan the Zones Before the Furniture
The best patios don't try to do everything in one undifferentiated rectangle. They break the space into zones with distinct jobs that flow together. The two zones almost every patio needs are a dining zone and a lounging zone, and they behave very differently.
A dining zone wants to sit near the kitchen or grill for convenience, with a clear surface for food and good overhead light for evening meals. A lounging zone wants deep seating, soft cushions, a low coffee or side table, and something that makes it feel grounded and separate, like a rug or a planting bed. Treating them as one blob is why so many patios feel busy yet unusable.
Use a rug to draw the boundary
The cheapest, fastest way to define a zone is an outdoor rug. It visually anchors a seating group, signals "this is the lounge," and warms up a bare slab without any construction. An outdoor rug placed under a seating group is a classic designer trick for making a lounging area "feel grounded," and it's the lowest-commitment zoning move available.
A rug is the one accessory that does real layout work, so it's worth choosing one built for the outdoors: reversible, fade-resistant, and easy to hose off. We looked closely at one budget option in our GENIMO outdoor patio rug review, which covers how a plastic-straw, weather-resistant rug holds up as a floor layer for a patio zone. Used well, a rug under the lounge chairs and a separate dining surface a few feet away can make even a single slab read as two distinct rooms.
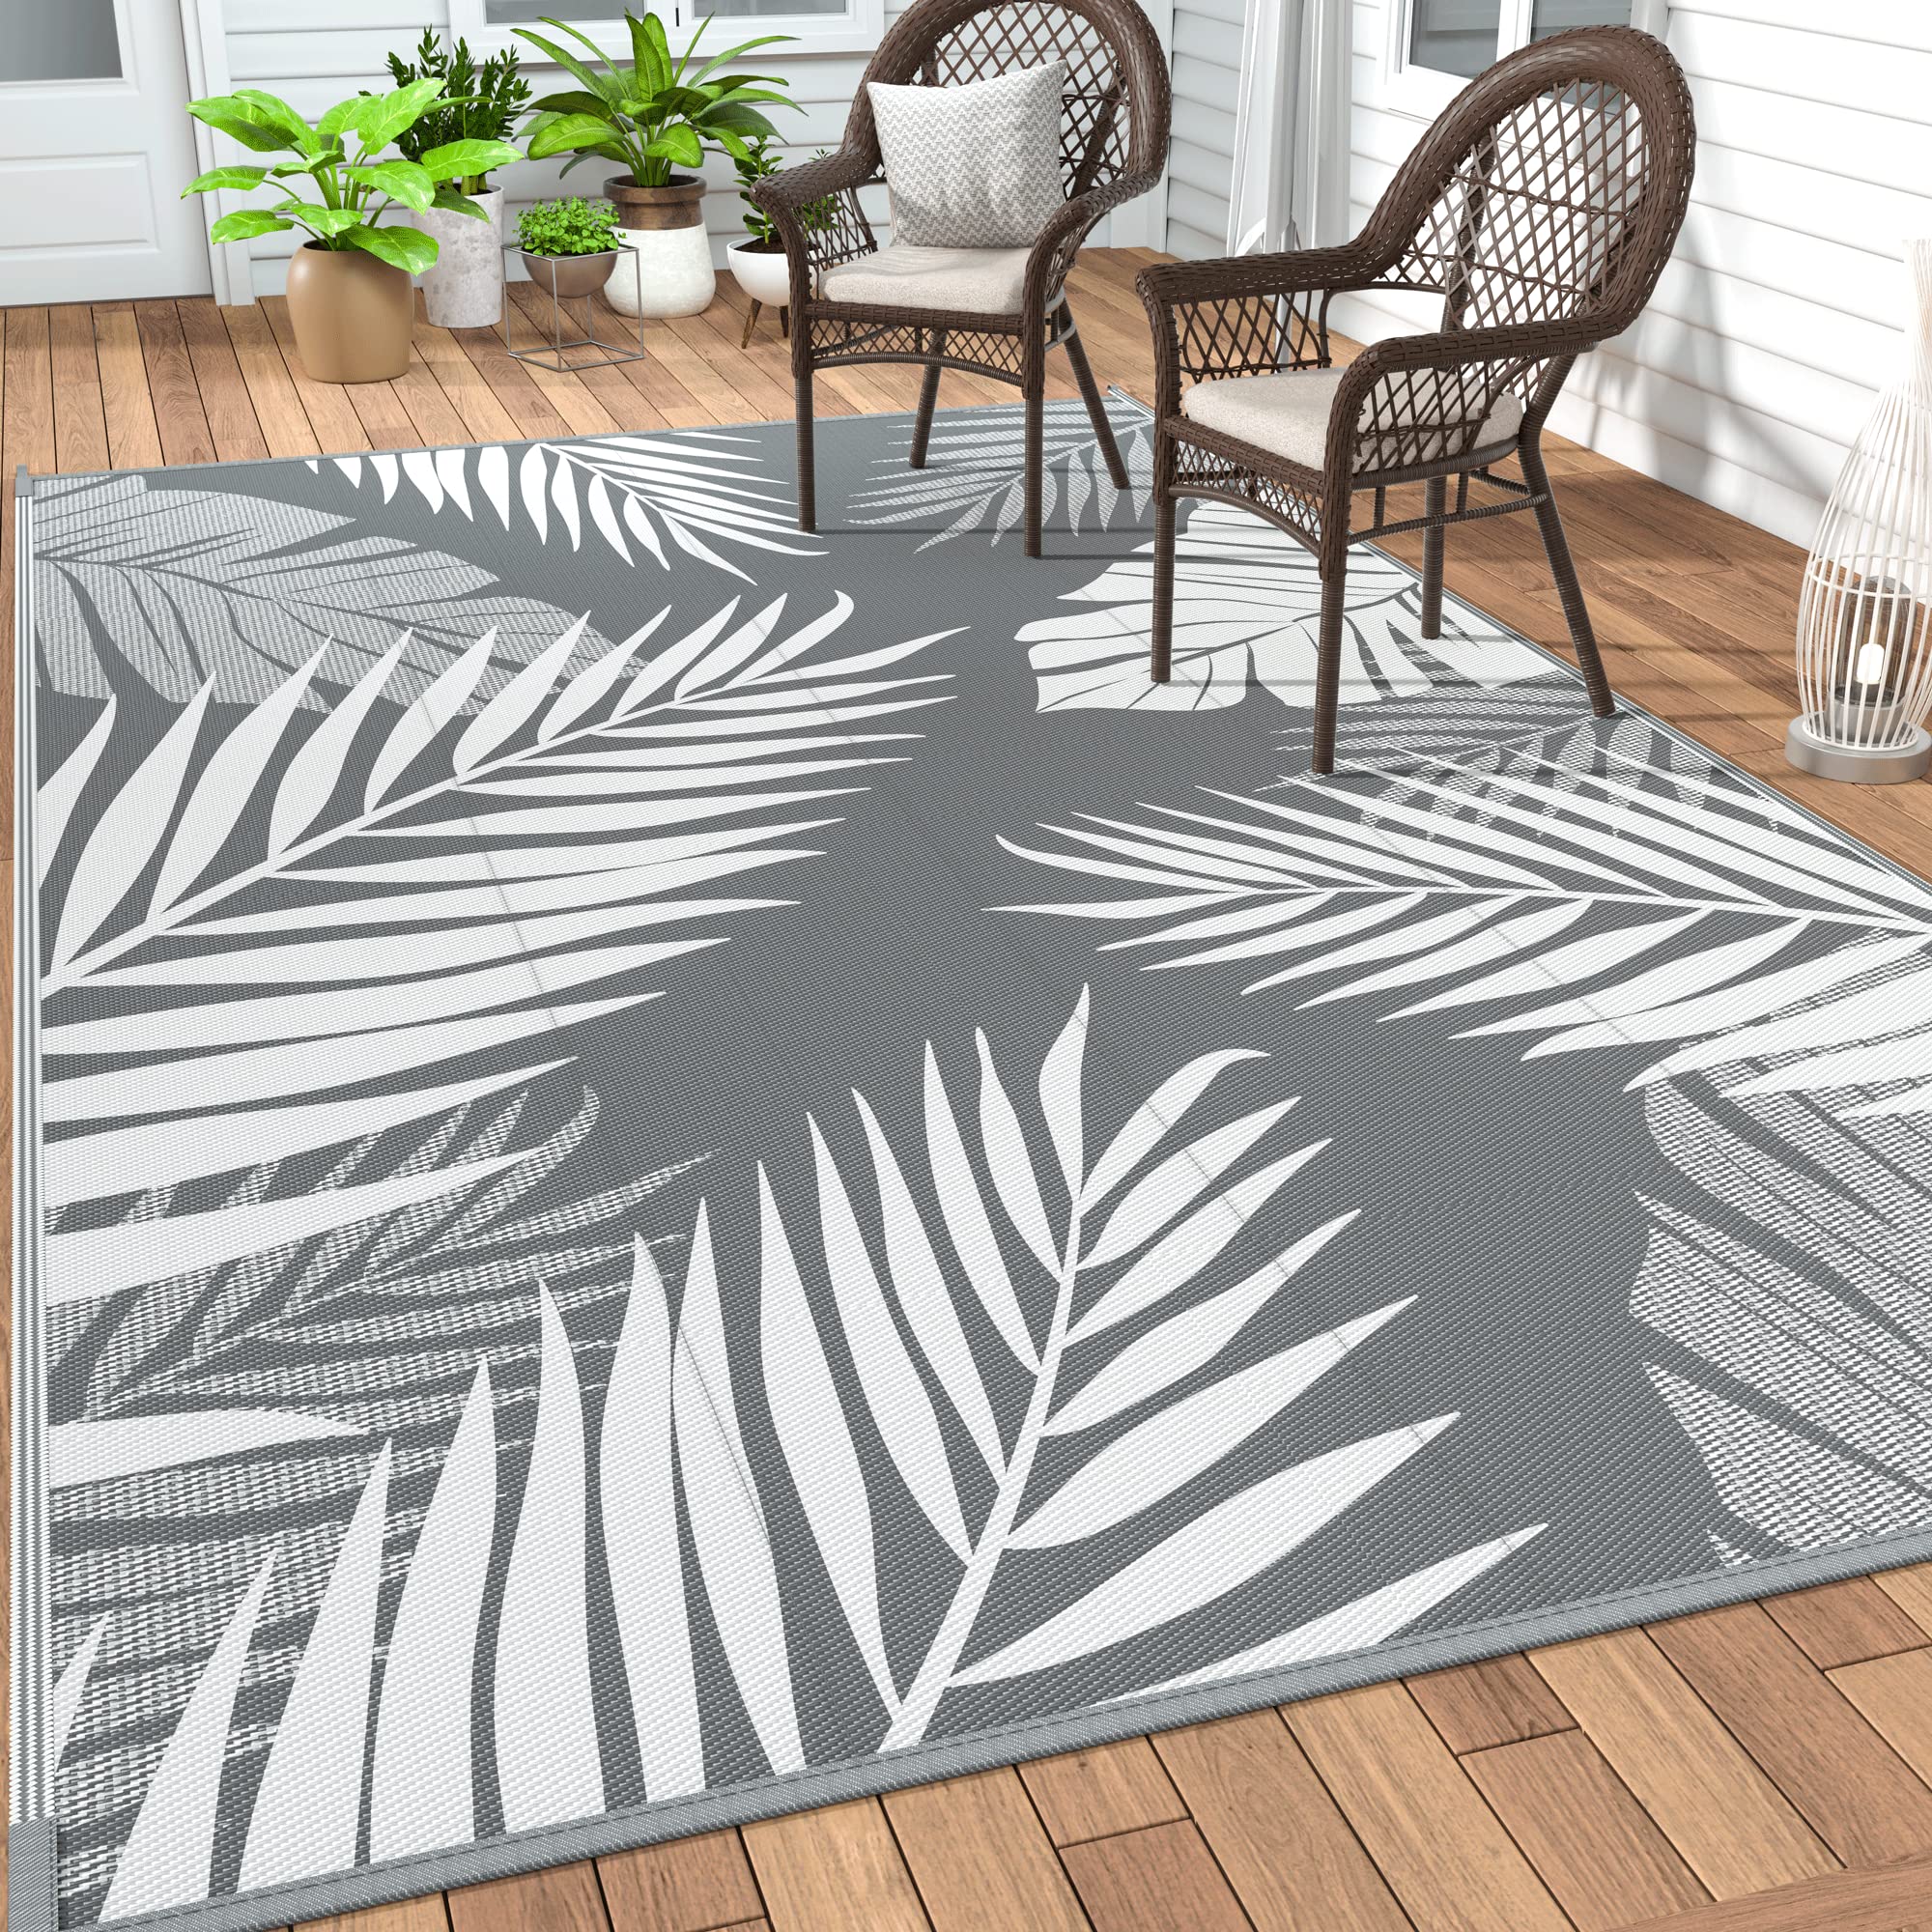
An outdoor rug is the fastest way to anchor a lounge zone and separate it from dining.
Leave a real path between zones
Zones only work if you can move between them without shuffling sideways past a chair. Plan for circulation as its own element. The standard guidance is that main walkways need 36 inches of clear width, according to furniture-spacing guidance summarized by Wayfair and echoed across furniture planning resources. That's the path from the door to the seating, from the table to the grill, and around the perimeter. If you find yourself "borrowing" walkway space to fit one more chair, the patio is too small for that piece, not the other way around.
Step Three: Size the Patio for Real Furniture and Clearances
This is where most DIY plans go wrong: people size the patio to the furniture's footprint and forget the space humans need around it. The numbers below are the difference between "cozy" and "claustrophobic."
The clearance rules that matter
A few well-established measurements do most of the work:
- Add about 3 feet (36 inches) around a table for chairs and walking. In tight spaces you can trim to 30–34 inches with smaller chairs, but 36 inches is the comfortable default, per outdoor furniture space planning from Wayfair.
- Chair pull-back needs about 24 inches behind each seat so someone can slide the chair back and stand. If a wall or railing sits behind the chair, measure 24 inches from the table edge to that barrier.
- Standard dining-height tables run 28–30 inches tall and pair with chairs around 18 inches of seat height, which is the comfortable ergonomic match for eating.
Translate clearances into a footprint
Stack those clearances and you get the patio sizes that actually work. The same planning resources translate them into clean targets:
- A 2-seat bistro setup wants roughly 6 ft x 6 ft (36 sq ft) — the realistic minimum for a small table and two chairs with room to move. This is the apartment-balcony or small-townhouse size.
- A 4-seat dining set wants about 8 ft x 8 ft (64 sq ft), which gives a round or square table proper chair pull-back on all sides. It's the most common size for couples and small families.
- A 6-seat dining set wants about 10 ft x 10 ft (100 sq ft) to handle chairs along both long sides and at the ends.
A worked example makes it concrete: a 48-inch round table with four chairs needs 36 inches of chair-and-walk space on each side, so 36 + 48 + 36 = 120 inches, or a full 10 feet across. That's why a "small" four-top quietly demands more slab than people expect. If your hard surface is fixed and small, that's not a failure — it just tells you to choose a bistro set or a tighter lounge grouping instead of forcing a six-seater.
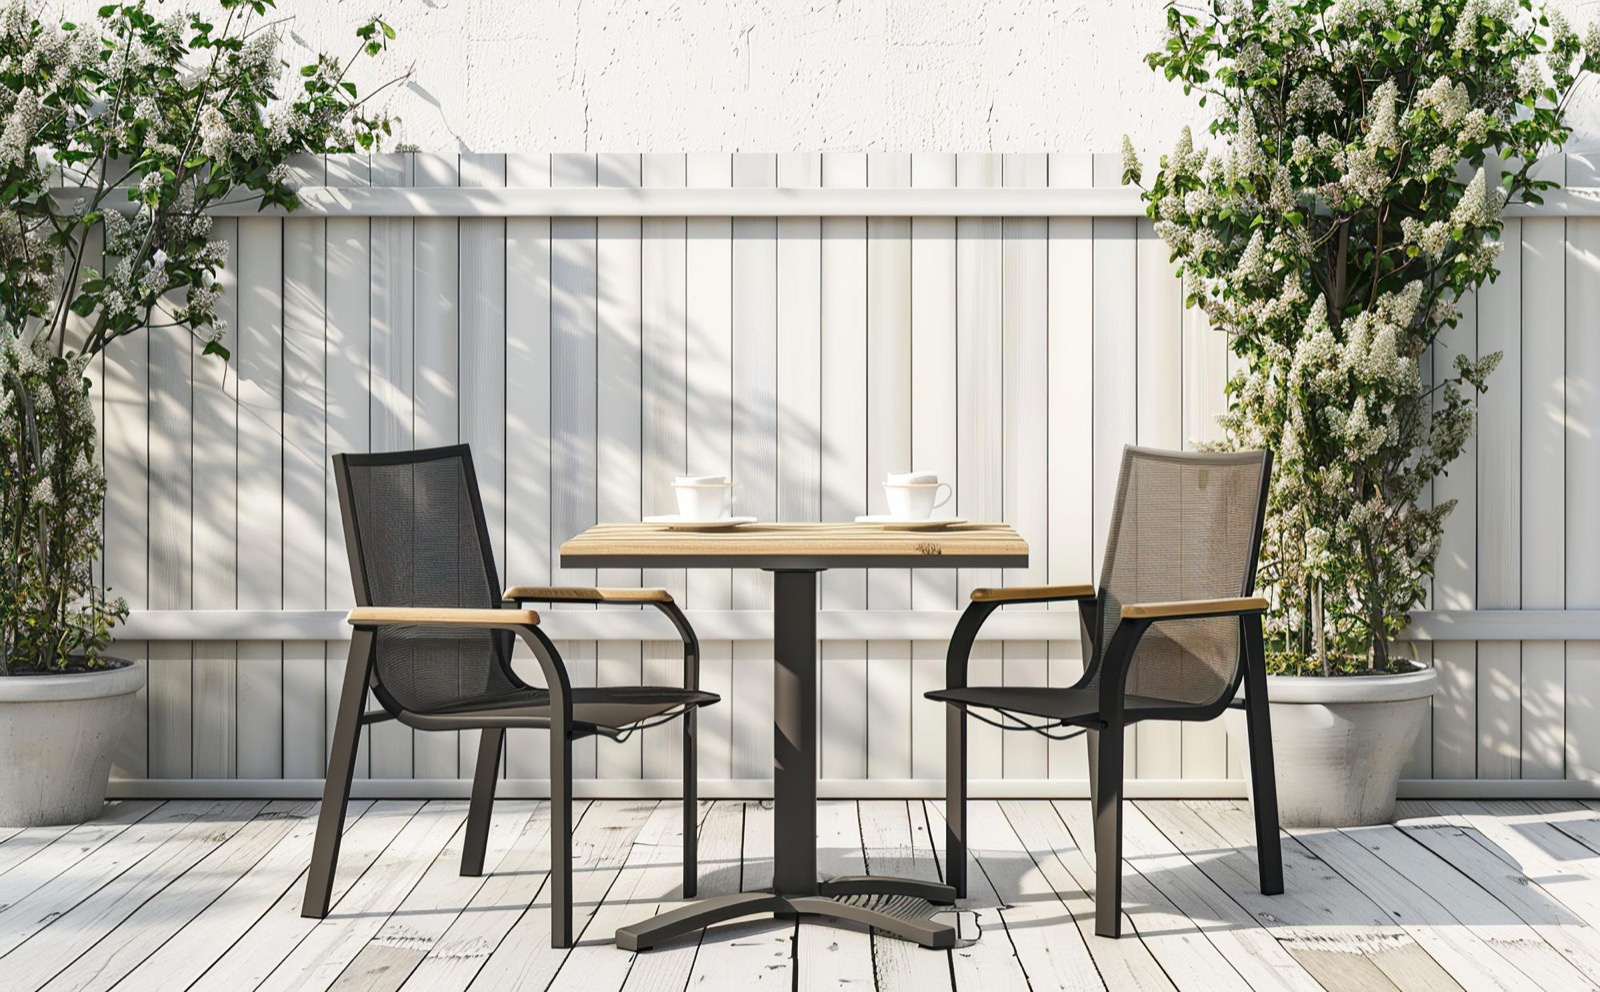
Size the slab to the clearances, not just the furniture footprint.
Step Four: Solve Shade Before It Ruins the Afternoon
A patio without a shade plan is a patio that gets abandoned by 4 p.m. in summer. Shade isn't decoration; it's what makes the space usable during the exact hours people most want to be outside. There are three main approaches, and they're not interchangeable.
Umbrella vs. pergola vs. shade sail
Umbrellas are the portable, affordable, flexible option. Market umbrellas have a straight central pole; cantilever umbrellas hang the canopy off an offset pole so the base doesn't crowd your table, and most cantilevers let you reposition the canopy as the sun moves. The honest tradeoff, as a shade-structure comparison from Riverbend Home explains, is that an umbrella covers less area than a pergola or gazebo, but it's movable and lets you create shaded pockets wherever you need them.
Pergolas are the permanent, architectural answer. A pergola's slatted roof provides only partial shade on its own; the real coverage comes from what you add on top, such as a retractable canopy, climbing vines, or mounted screens. A pergola defines a room, but it's a build, not a purchase.
Shade sails and roller shades are the high-UV-blocking option. Dense HDPE sail fabrics can block up to 95% of UV rays, and some roller shades block around 90%, with certain dense materials reaching near-total UV blockage, per Bob Vila's patio shade roundup. They're efficient but more of a fixed installation.
Match the shade to your sun map
This is where Step One pays off. If your sun study showed the whole patio bakes all afternoon, an umbrella alone won't cut it — you'll want a larger canopy or a layered approach. If only the dining end gets harsh light, a well-placed umbrella over the table is the simplest fix. The pros' consensus is that the best setups layer shade sources because a patio gets sun from different angles at different times of day; one device rarely covers every hour.
A large umbrella is the highest-leverage single purchase for most patios because it's the primary shade anchor and it's movable. We dug into one oversized option in our PHI VILLA 15-ft patio umbrella review, which covers how a double-sided rectangular umbrella covers a dining set and a lounge chair at once. If you only buy one shade element, a generously sized umbrella sized to your seating zone is usually the right place to start.
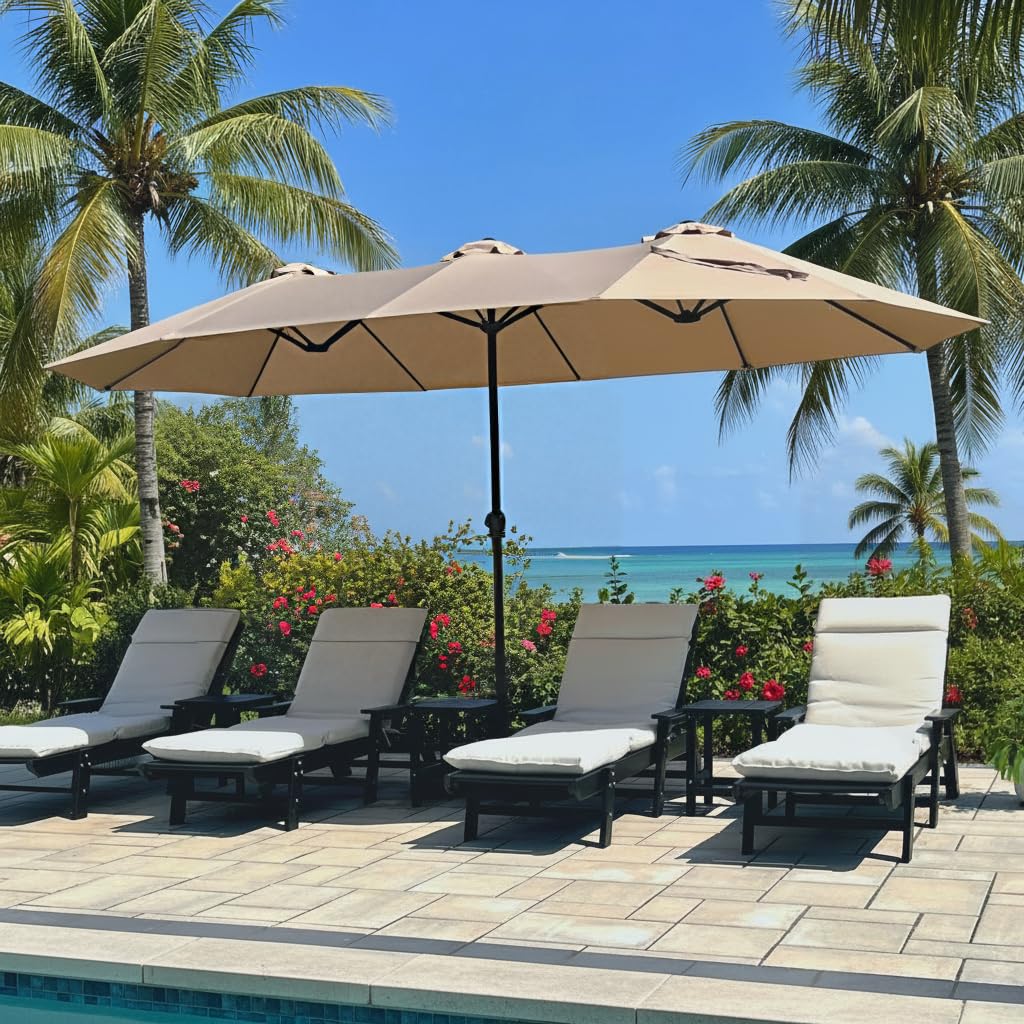
A generously sized umbrella is the highest-leverage shade purchase for most patios.
Step Five: Layer the Lighting So You Can Use It After Dark
Daytime patios are easy. The ones that get used at night have a real lighting plan, and a real lighting plan means layers. Lighting designers describe three jobs: ambient light for general glow, task light for safety and function, and accent light for highlighting plants or features.
The three layers, briefly
Ambient lighting sets the mood and does the bulk of the illumination — string lights, wall lanterns, and post lights fall here. Task lighting covers the spots that need real visibility, like steps, pathways, and an outdoor bar or grill where you're actually doing something. Accent lighting is the finishing touch that throws light on a tree or a planting bed. The three-layer framework is laid out clearly in outdoor lighting guidance from Homes & Gardens.
Get the warmth and spacing right
Two technical details make outdoor lighting feel inviting instead of harsh. First, color temperature: aim for bulbs in the 2700K–3000K warm-white range and keep it consistent across the whole patio. Mixing a cold 5000K floodlight next to warm string lights reads as a parking lot, not a living room. Second, spacing: path lights should be staggered rather than lined up "runway style," roughly 6 to 10 feet apart, with downward-facing fixtures to avoid glare. Those specifics come from the same Homes & Gardens lighting guidance.
For brightness, rough lumen targets keep you from over- or under-lighting: pathway lights generally want 50–100 lumens, accent lights 100–200, and a spotlight aimed at a large tree might need 200–400 depending on distance. You don't need a lighting designer for this — you need warm bulbs, a few well-placed string runs over the seating zone, and modest path lights along the route in. String lights draped over a pergola or strung across the lounge zone are the single most reliable way to make a patio feel finished at night.
The Budget Patio: Building the Hard Surface Without Wasting Money
So far we've assumed you have a usable surface. If you're starting from dirt or a cracked slab, the most-searched question is how to do it cheaply, and the honest answer is: spend the money where it can't be seen.
What a DIY paver patio actually costs
Doing it yourself, materials for a paver patio run roughly $5 to $12 per square foot, about half the cost of professional installation, according to a paver patio cost guide from Tomahawk Power. A basic patio can land near the $5–$10 range if you supply the labor and pick economical pavers. The breakdown the same source gives is useful for planning: standard concrete pavers around $2–$5 per square foot, base gravel and bedding sand around $1–$2, and edge restraints plus joint sand around $0.50–$1.00. Note that prices shift with region and material, so treat these as 2026 ballpark figures to verify with a local supplier, not fixed quotes.
A note on "simple paver patio ideas" and "12x12 paver" layouts that fill search results: large-format pavers and simple grid patterns genuinely are the easiest DIY route because there's less cutting and fewer pieces to level. The pattern is the fun part. The base is the part that determines whether your patio survives.
Why "pavers over dirt" is the expensive shortcut
The most-searched budget hack — laying pavers directly over dirt — is also the most common way to waste money. Patio building is one of those projects where the base matters more than the surface. Skip the base and the pavers shift, settle, and turn into trip hazards within a few years, and ripping out a settled patio to rebuild it costs more than doing it right once, as the Tomahawk Power cost guide bluntly warns.
The fix isn't expensive, it's just invisible. Clay soils generally need 4 to 6 inches of compacted gravel under the pavers to prevent settling, topped with a leveling layer of bedding sand. The compaction step — the part it's most tempting to rush — is exactly where shortcuts cause years of problems. If your budget is tight, the right move is to make the patio smaller so you can afford a proper gravel base and a compactor rental (commonly $60–$150 a day), rather than to skip the base on a big slab. A solid base is what prevents sinking, shifting, and drainage failures, full stop.
If a full paver build is out of reach this season, there's a legitimate middle path: work with the slab or concrete pad you already have and do all the zoning, shade, and lighting work above. A clean concrete pad with a good rug, a sized umbrella, and warm string lights beats a sinking paver patio every time.
Putting It Together: A Sane Order of Operations
It helps to do these steps in the right sequence so you're not undoing work.
- Observe the site for a day — sun, shade, drainage, the path from the house.
- Decide your top three activities and translate them into zones (usually dining plus lounging).
- Size the hard surface to the clearances (36 inches around tables, 24 inches of chair pull-back, 36-inch walkways), choosing furniture that fits the slab you have or can afford.
- Build or assess the surface — and if you're laying pavers, spend on the gravel base, not the pattern.
- Solve shade with an umbrella, pergola, or layered combination matched to your afternoon sun.
- Anchor the zones with a rug and the seating layout.
- Layer the lighting in warm 2700K–3000K tones so the space works after dark.
Each step is cheap to plan and expensive to redo, which is exactly why the planning is worth more than the shopping.
On Patio "Feng Shui" and Flow
One of the recurring searches around this topic is patio feng shui, and underneath the terminology is a sound, universal principle: a space feels good when energy and people can move through it without friction. You don't need to adopt any particular belief system to use the idea. In practice it maps directly onto everything above — clear 36-inch walkways, a natural path from the house to the seating, zones that don't collide, and a balanced, uncluttered layout where nothing blocks the route in or out. "Good flow" and "correct clearances" are mostly the same thing described in two vocabularies. If a layout feels off, the fix is almost always more breathing room around the furniture, not more furniture.
Common Mistakes Worth Avoiding
A few errors show up again and again in the planning guidance:
- Sizing to the furniture, not the clearances. A four-top really does want 8 ft x 8 ft. Cramming it onto a 6-foot slab makes the whole patio feel tight.
- Skipping the sun study. People put the dining table in the prettiest spot, then discover it's unusable at dinnertime in July.
- One device for shade. A single small umbrella over a large patio leaves most of it baking. Layer, or size up.
- Cold, mismatched lighting. A 5000K floodlight next to warm string lights kills the mood instantly. Keep everything 2700K–3000K.
- Cheap base, expensive regret. The paver shortcut over bare dirt is the costliest "savings" in the whole project.
The Bottom Line
Setting up a patio and outdoor living space is less about buying the right furniture and more about getting two things right: dividing the space into zones that each do one job well, and leaving enough clearance around everything that the space feels generous. Read your site first, size the slab to real human clearances, solve shade for the hours you'll actually be outside, build the base properly if you're laying pavers, and light it in warm tones so it works at night. Do that, and even a modest concrete pad becomes a place you'll genuinely use.
When you're ready to choose specific pieces, our best patio and outdoor living setup for 2026 roundup applies these principles to real products — including the shade anchor and floor layer this guide leans on. Plan first, shop second, and the patio will reward you for years.
Related Posts